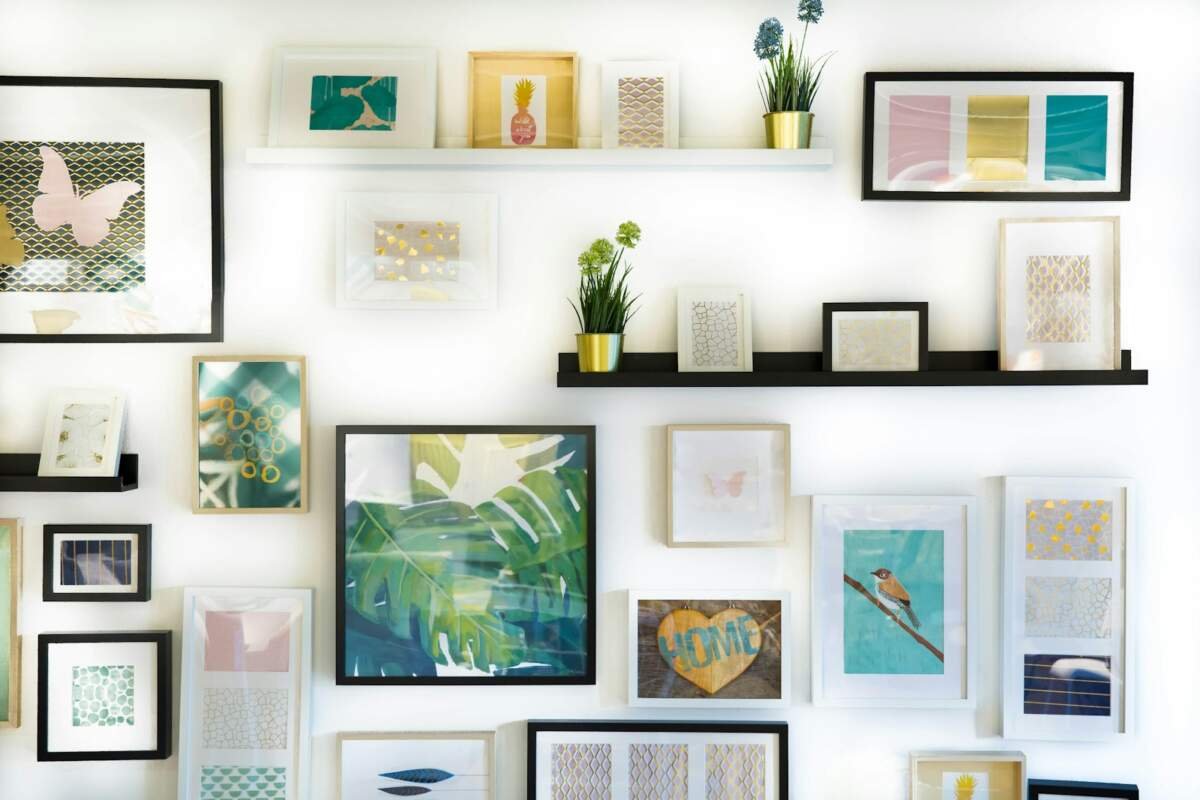

A gallery wall can turn a plain space into a story. You don’t need an interior designer or endless frames. With a few smart layout tricks, you can create a wall that feels balanced, personal, and professional.
1. Why Gallery Walls Work So Well
Gallery walls tell your story visually. They mix memories, art, and texture in one view. When arranged well, they make any room feel intentional and warm.
In addition, a gallery wall adds instant character. Even a rented apartment or blank hallway comes alive with coordinated frames and a confident layout.
Finally, it’s flexible. You can start small, grow over time, and swap pieces as your taste evolves.
2. Choose the Right Theme and Frames
Begin with a theme. It might be family memories, travel photos, or Islamic calligraphy prints. A theme keeps your wall cohesive even when the frames differ.
Then, choose frames that complement your home’s color palette. Black or white frames give modern appeal, while wood tones create warmth.
If your budget is tight, mix thrifted frames with new ones. You’ll get texture and charm for less.
Frame Selection Tips
| Frame Type | Best For | Visual Effect |
|---|---|---|
| Thin black metal | Modern spaces | Sleek and clean |
| Light wood | Natural tones | Soft and warm |
| Gold trim | Traditional décor | Elegant and classic |
| White | Bright spaces | Airy and fresh |
Keep frame spacing consistent. Around two inches apart usually works well in most homes.
3. Plan the Layout Before Hanging
Start by placing all frames on the floor. This step helps you visualize balance without committing to nails.
After that, take a photo of your layout. You’ll spot any imbalance instantly. Adjust until it feels right.
Use paper templates to mark each frame’s spot on the wall. Tape them lightly, step back, and check alignment.
Finally, measure the central point at eye level, around 57 inches from the floor. It helps the gallery feel natural to view.
Popular Layout Patterns
- Symmetrical Grid: Even rows and columns for a formal look
- Centered Cluster: A main anchor piece with smaller works around it
- Asymmetrical Flow: Different sizes arranged organically
Each layout works, but choose based on your wall size and desired vibe.
4. Mix Art, Photos, and Texture
Balance is key. Combine photographs, quotes, and textured pieces for depth. For instance, woven baskets or small mirrors break visual monotony.
In addition, vary orientation. Mix vertical and horizontal frames to create gentle rhythm.
Choose one or two repeating colors throughout the artwork. Repetition ties everything together without feeling forced.
To make it personal, include meaningful prints — a family motto, a favorite verse, or a child’s drawing framed elegantly.
5. Hanging Made Easy
Use removable hooks or hanging strips if you rent. They protect walls and allow easy repositioning.
Before hanging, check each frame’s weight. Heavier ones need anchors, while light frames stick easily with adhesive strips.
Work from the center outward. This keeps proportions balanced. Step back every few frames to recheck alignment.
If possible, hang with a friend. Two sets of eyes catch small tilts early.
Hanging Height Guidelines
| Wall Type | Best Hanging Height | Note |
|---|---|---|
| Living room | Eye level, around 57 inches | Center of group |
| Above furniture | 6 to 8 inches above top edge | Keeps unity |
| Hallway | Slightly lower | Matches walking height |
This small attention to height makes all the difference in flow.
6. What Not to Do
Don’t mix too many colors or frame styles. Chaos distracts from beauty. Instead, stick to two or three tones maximum.
Avoid hanging too high. A floating gallery breaks visual connection and feels disconnected.
Also, don’t skip planning. Hammering without layout testing almost always ends in regret.
Finally, avoid glare-heavy glass if the wall faces sunlight. It hides your art and ruins the viewing experience.
7. Quick Finishing Touches
Add soft lighting. A nearby lamp or string lights bring warmth and highlight your display.
Include a touch of greenery. A small potted plant or hanging vine softens edges and keeps the wall lively.
Take your time to curate. Rotate pieces seasonally to keep the look fresh without redecorating.
Your gallery should evolve like your life — meaningful, balanced, and always growing.
Conclusion
A well-planned gallery wall turns everyday moments into art. With thoughtful spacing, color balance, and a clear theme, any mom can master this DIY project. So gather your frames, plan your layout, and let your wall tell your family’s story beautifully.